Creating Multi Node Kubernetes cluster Locally
This is going to be a very short guide on how to create a multinode Kubernetes cluster with k3d and kind. There can be multiple reasons why you need a…

On this page (4)
This is going to be a very short guide on how to create a multinode Kubernetes cluster with k3d and kind.
There can be multiple reasons why you need a multi-node Kubernetes cluster. For me, it was I wanted to practice some Kubernetes concepts specific to node like taints and tolerations, nodeSelector, nodeAffinity etc.
k3d #
Requirements #
-
You need to have docker installed on your system, and it should be running. You can check the status of docker using
sudo systemctl status docker -
Install the k3d CLI and let's start.
-
I will use arkade to install the k3d CLI. I will execute the command
arkade get k3d -
If you don't have arkade installed, then you can execute a curl command
curl -s https://raw.githubusercontent.com/k3d-io/k3d/main/install.sh | bash -
If you get stuck somewhere then follow the installation guide here
-
First, we need to create a cluster using k3d and for that we will execute our command
k3d cluster create my-cluster
-
Now our cluster is ready let's install kubectl to interact with our kubernetes cluster. We will run the following command to install kubectl
arkade get kubectlor execute this curl commandcurl -LO "https://dl.k8s.io/release/$(curl -L -s https://dl.k8s.io/release/stable.txt)/bin/linux/amd64/kubectl" -
If you want to get the kubeconfig of the cluster that you had created just now, then execute the command
k3d kubeconfig get <cluster-name> -
The default location for your kubeconfig in case of k3d is
~/.k3d/kubeconfig-something.yaml -
Now we have created our cluster, and it's time to add another node to the same cluster.
-
For adding node to the existing cluster, we need to run the following command
k3d node create <node-name> -c <cluster-name> - Do not forget to pass the
-cflag as it targets the cluster on which you're trying to create the node. - We have successfully added our new node to the Kubernetes cluster.
- List all the clusters that you've created using
k3d cluster list - To verify, you need to run
kubectl get nodesand you're supposed to see two nodes present in your cluster.
Kind #
- We will repeat the same thing with kind and how we can create a multinode kubernetes cluster with kind.
- kind is a kubernetes-sigs project.
- For kind, the requirement is docker, and you need to have docker installed on your system.
- To create a cluster, we run the command
kind create cluster --name <cluster-name>
- To get the kubeconfig of the cluster, we execute the command
kind get kubeconfig --name <cluster-name> - To set your context to the current kind cluster you can export the cluster manifest with
KUBECONFIGvariable, or you can do the same by runningkind export kubeconfig --name <cluster-name> - The default location for your kubeconfig in this case is
~/.kube/config - One thing which you should keep in mind is that you should always pass your cluster name with
--name - List all the cluster that you've created through kind using
kind get clusters - After creating multiple clusters, you may need to manage contexts and for that you can read one more article on managing contexts here
Creating multi-node cluster using kind #
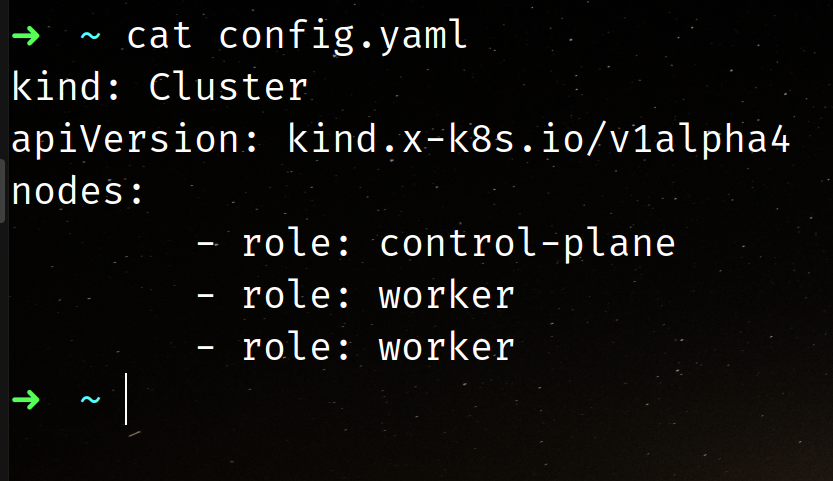
- For creating multi-node cluster using kind, you need to first write a config file and then pass that file during the
kind cluster createwith--configflag. - I want to create a cluster with one controlplane and two worker nodes. For creating this cluster, our config file will look something like this.
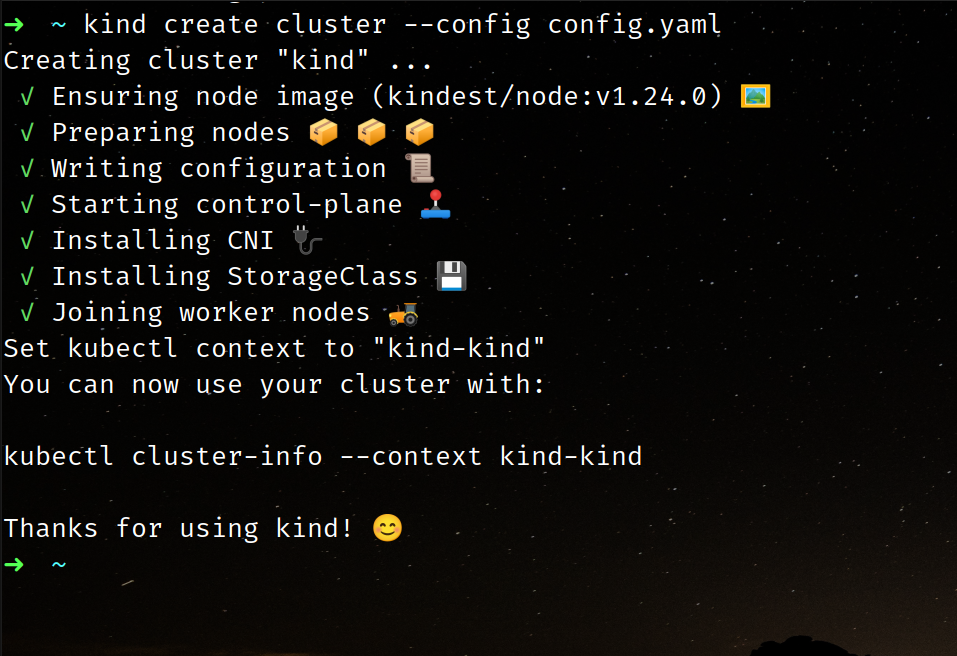
- To create the cluster, execute the command
kind create cluster --config config.yamlWait for few seconds for your cluster to be created.
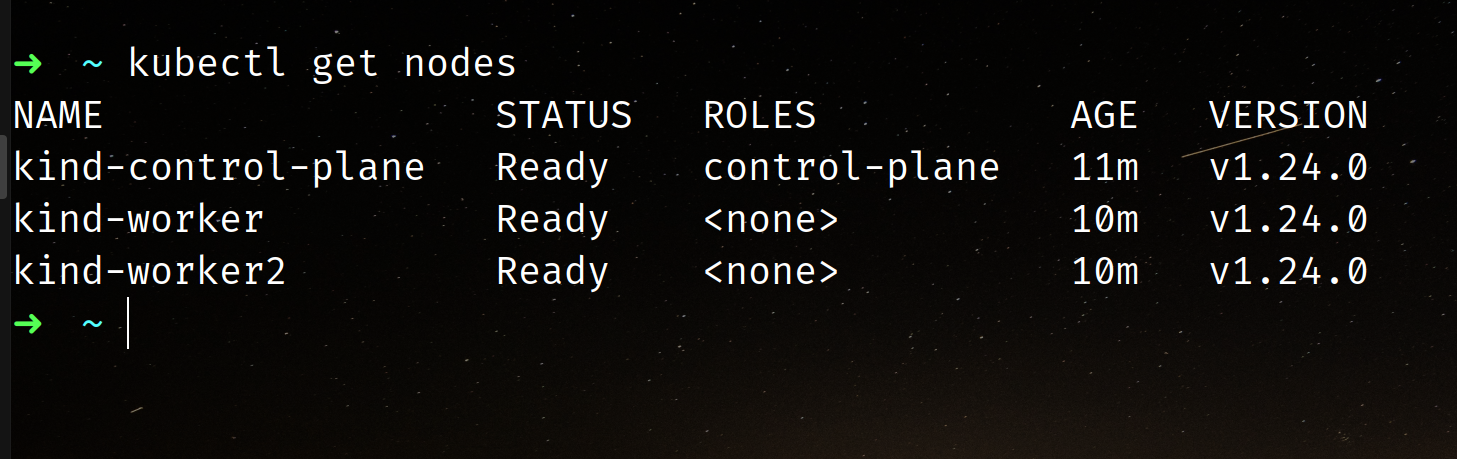
- Verify your installation using the
kubectl get nodescommand.
- You can read more about the advanced configuration of kind here
Summary #
- In this blog, we have learnt about how to create single node/multi-node kubernetes cluster using kind and k3d both. I hope this was useful.
Get new posts in your inbox.
Spotted a typo or want to improve this post? Edit on GitHub →